How To Take Self-Portraits
My top tips and tricks to documenting yourself and create your own unique art.
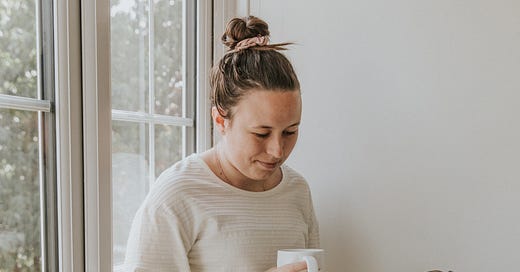
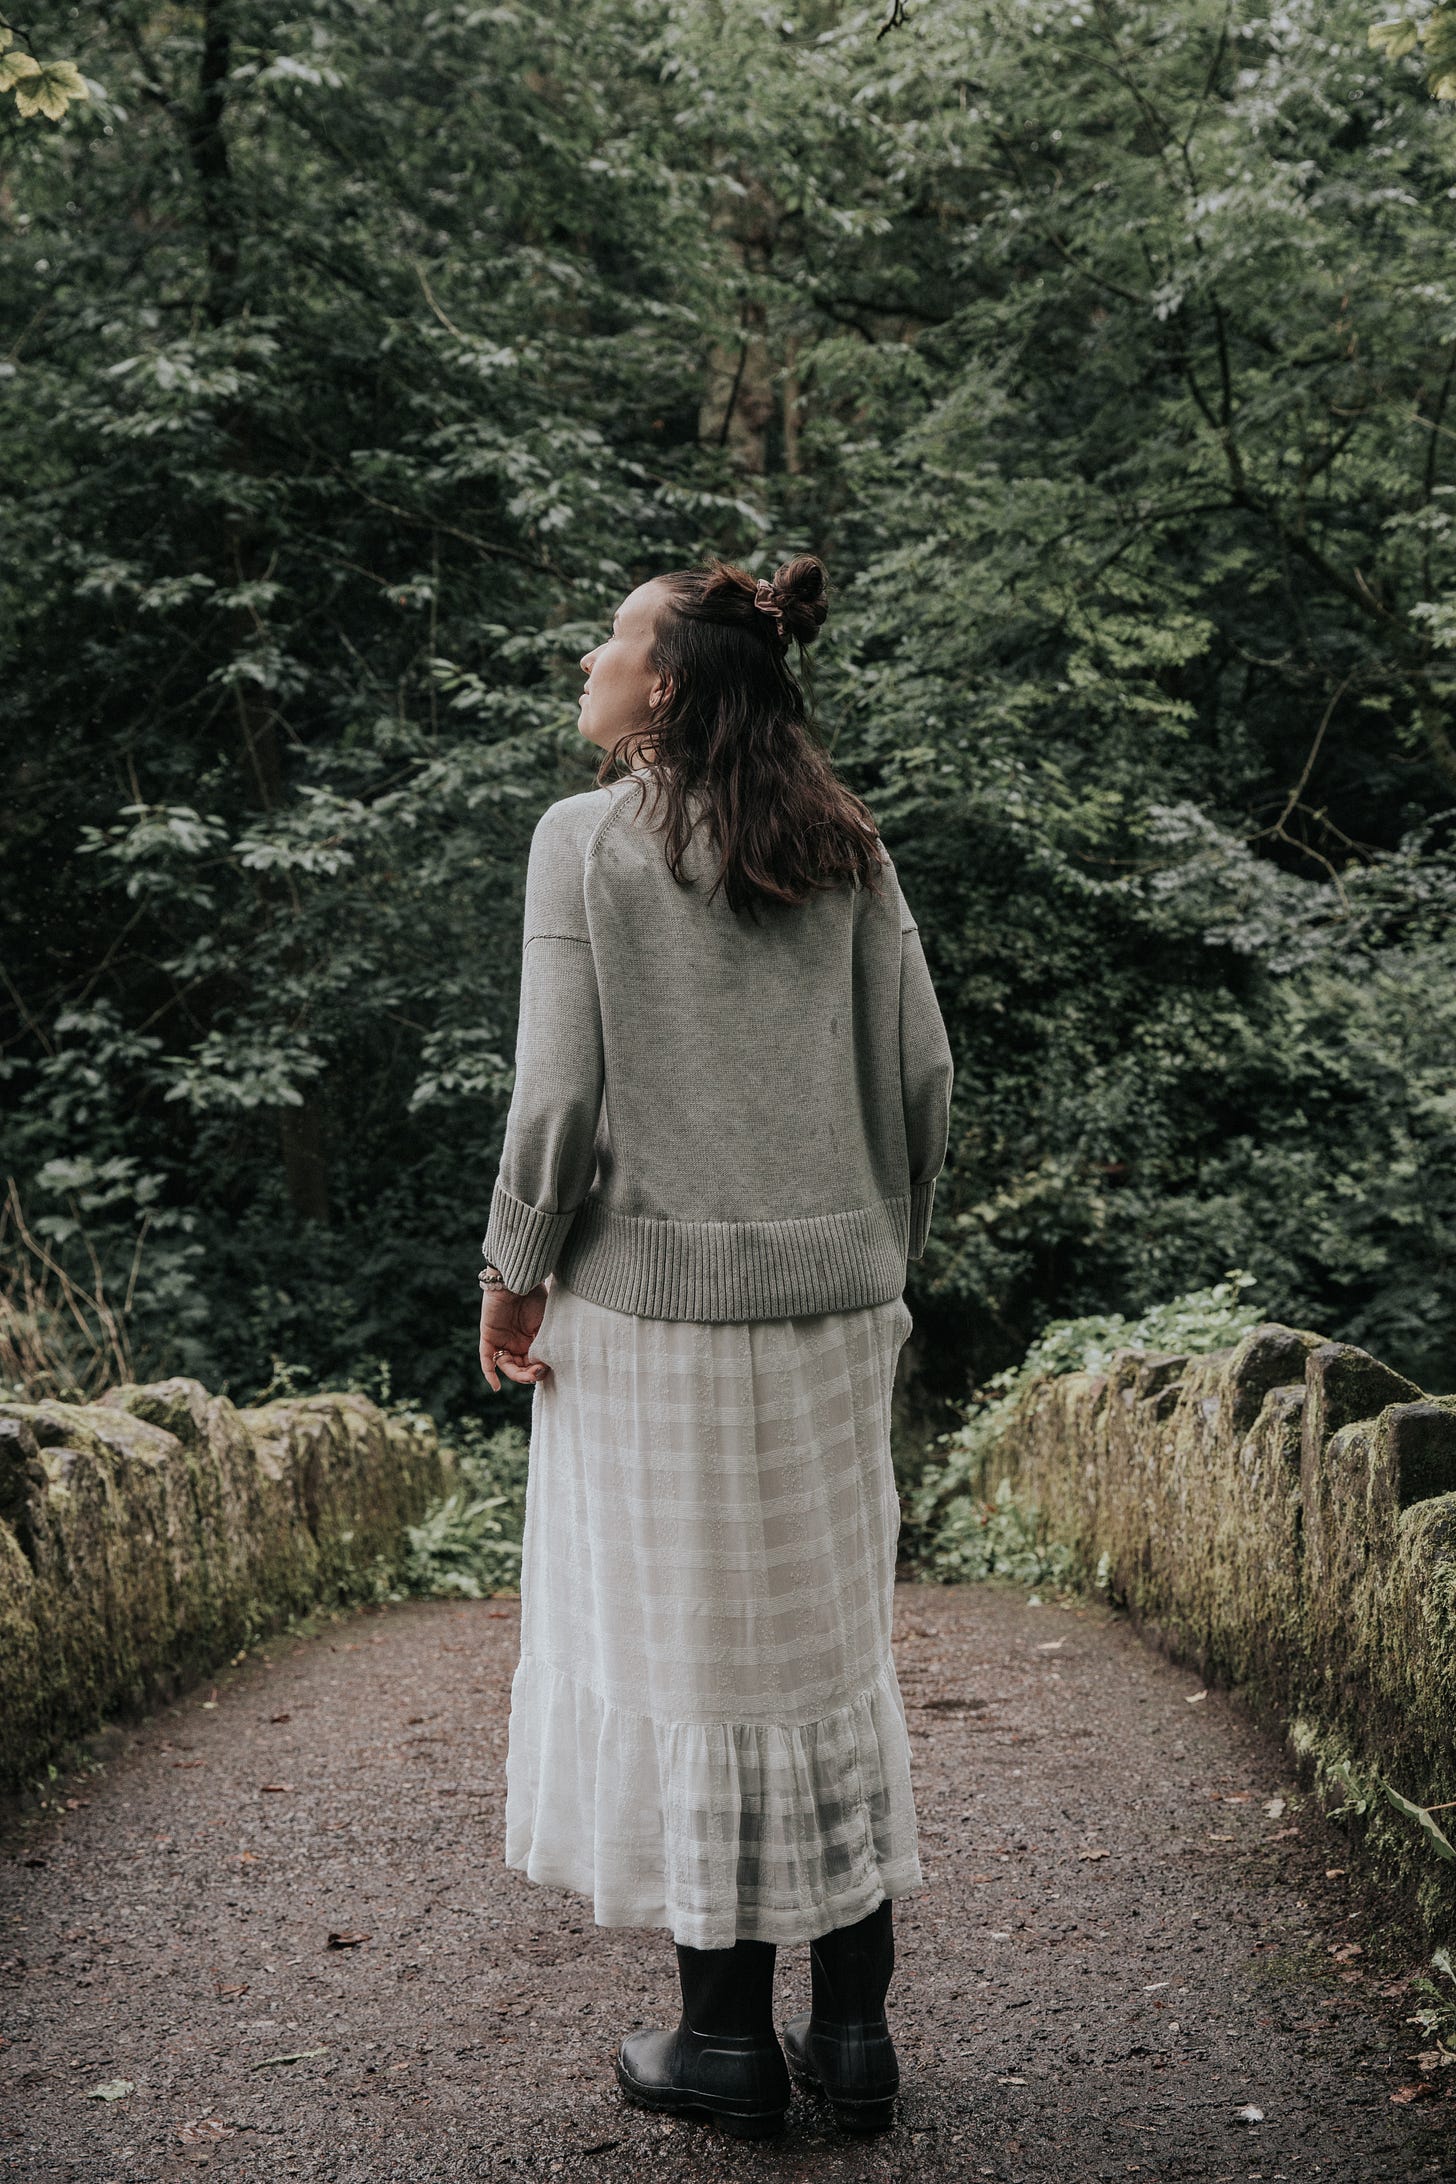
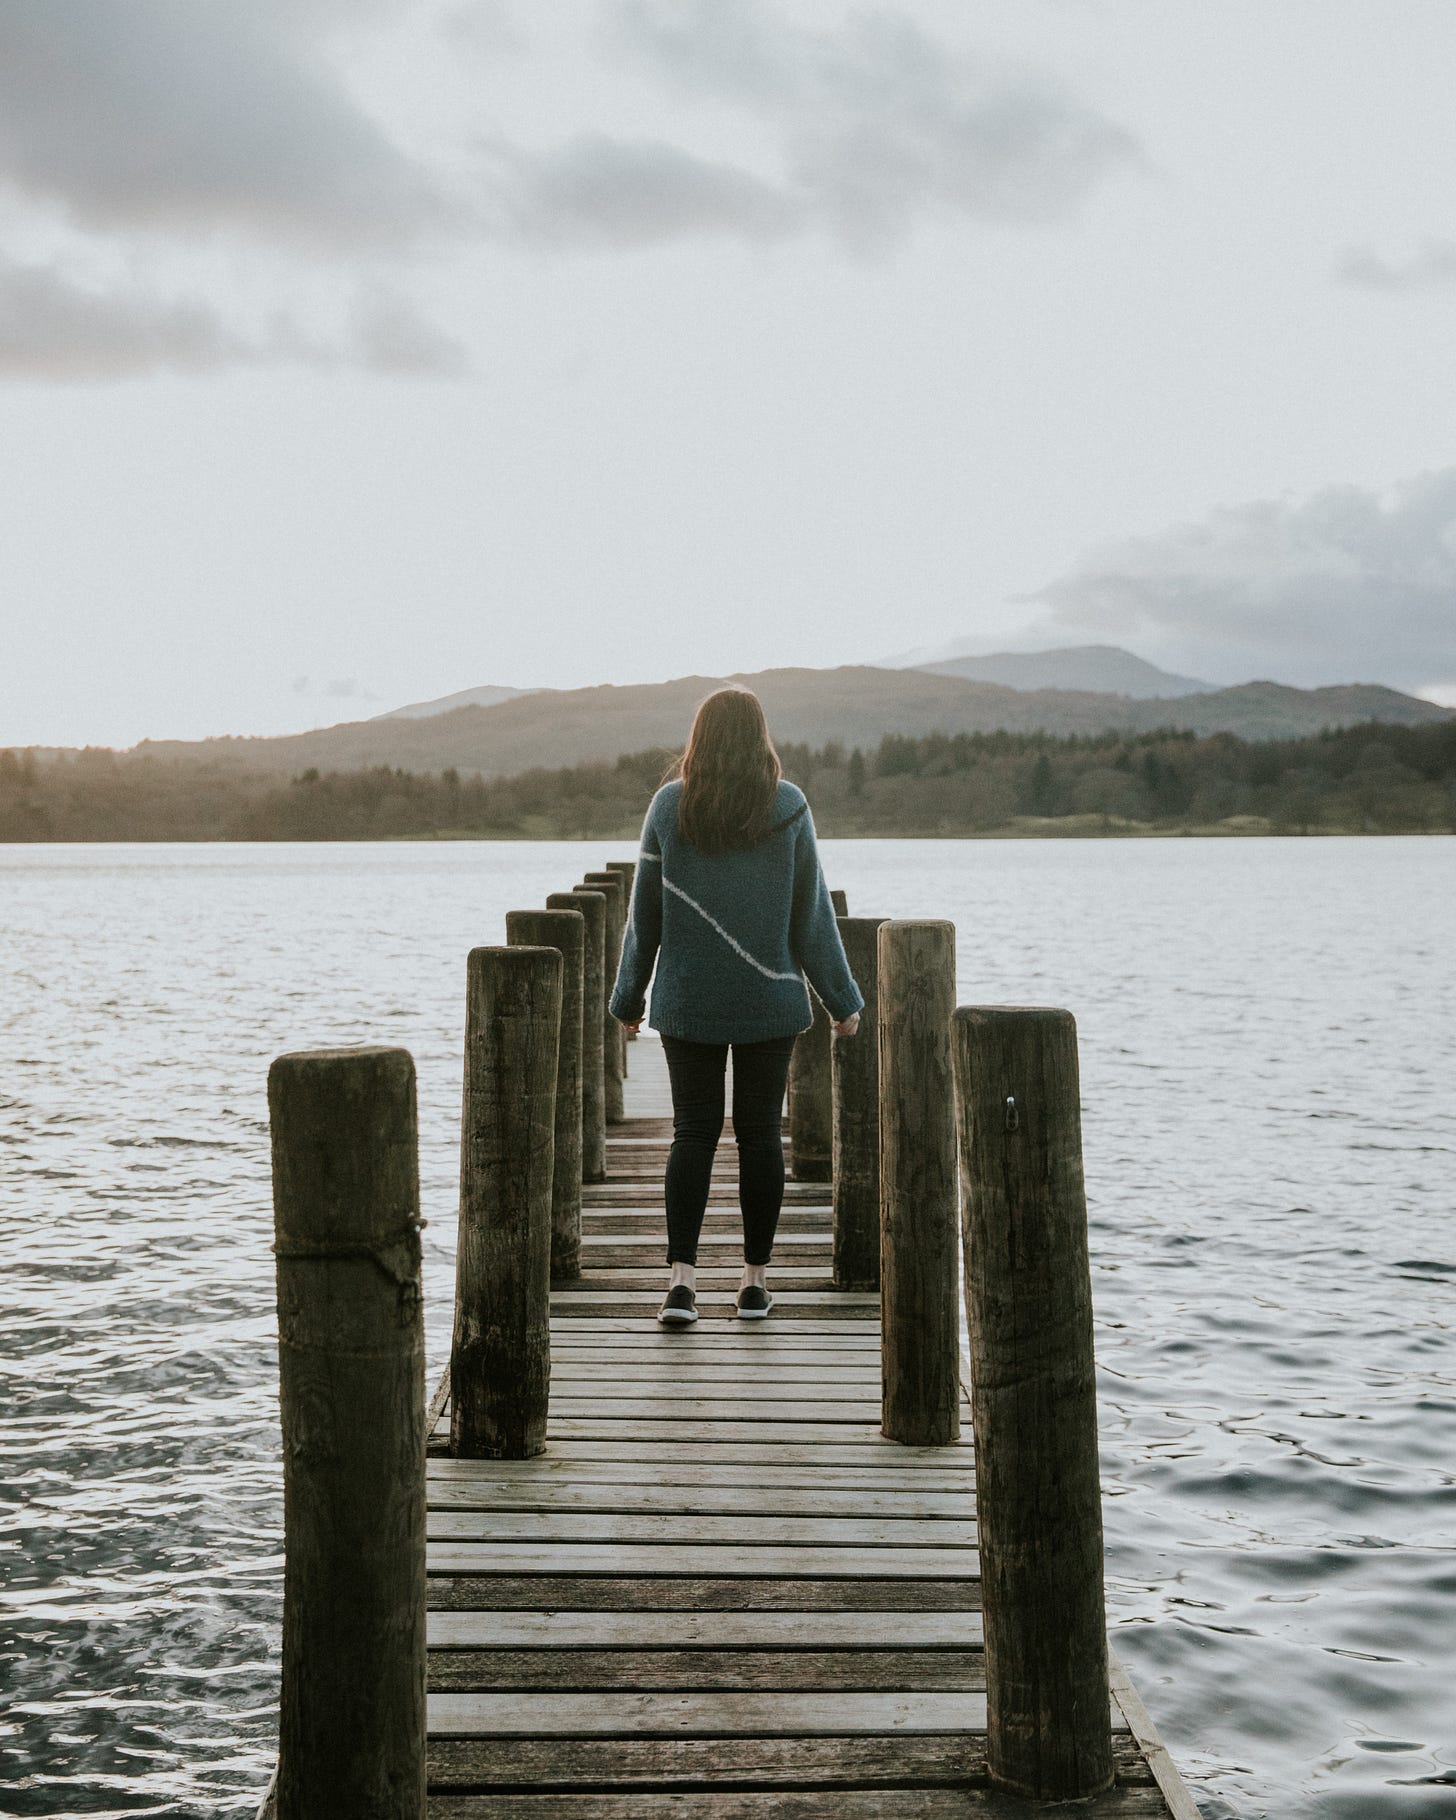
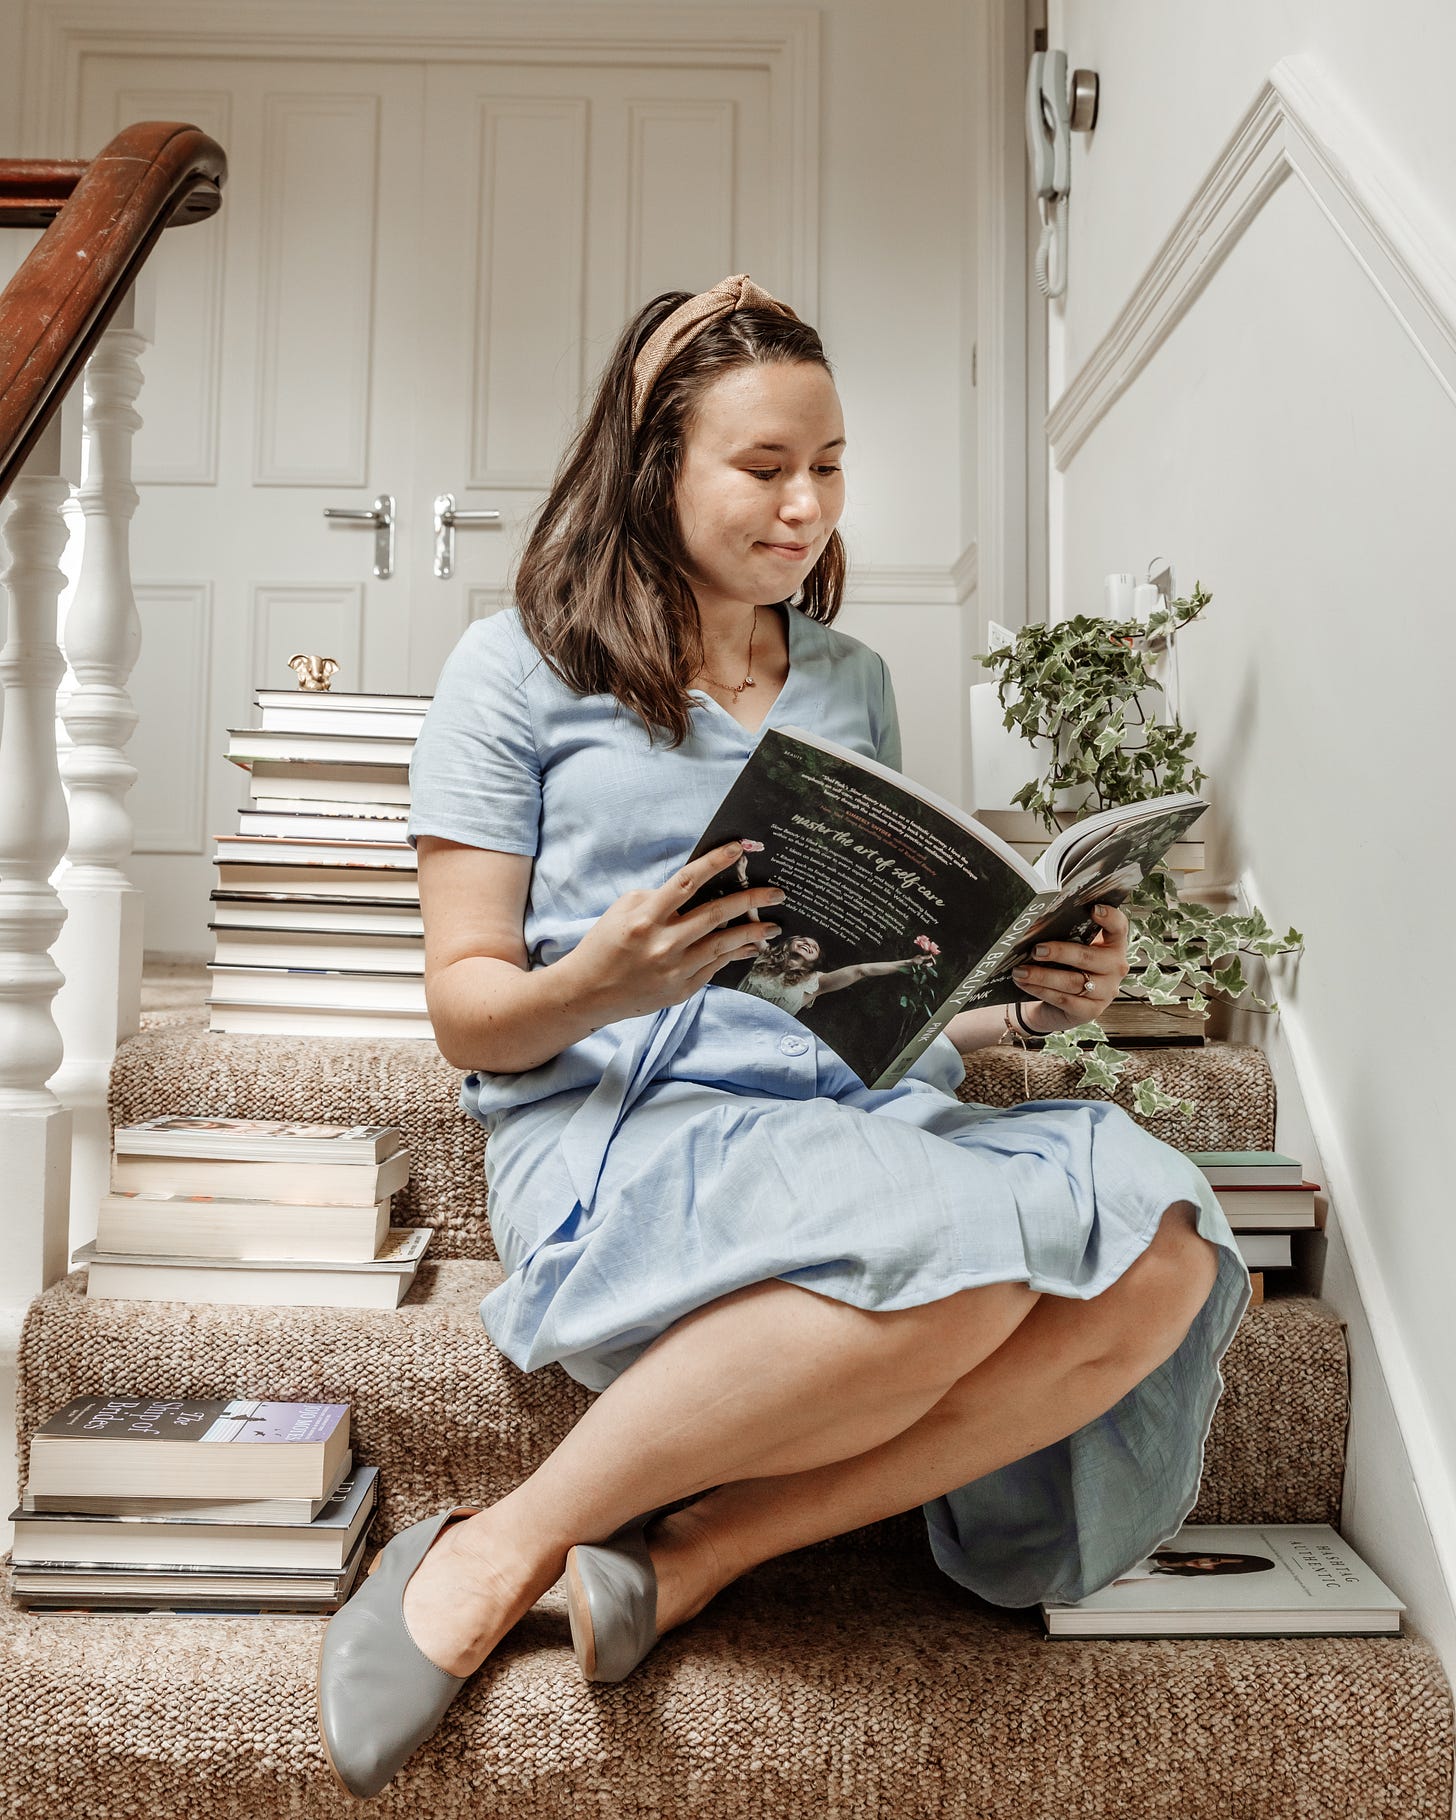
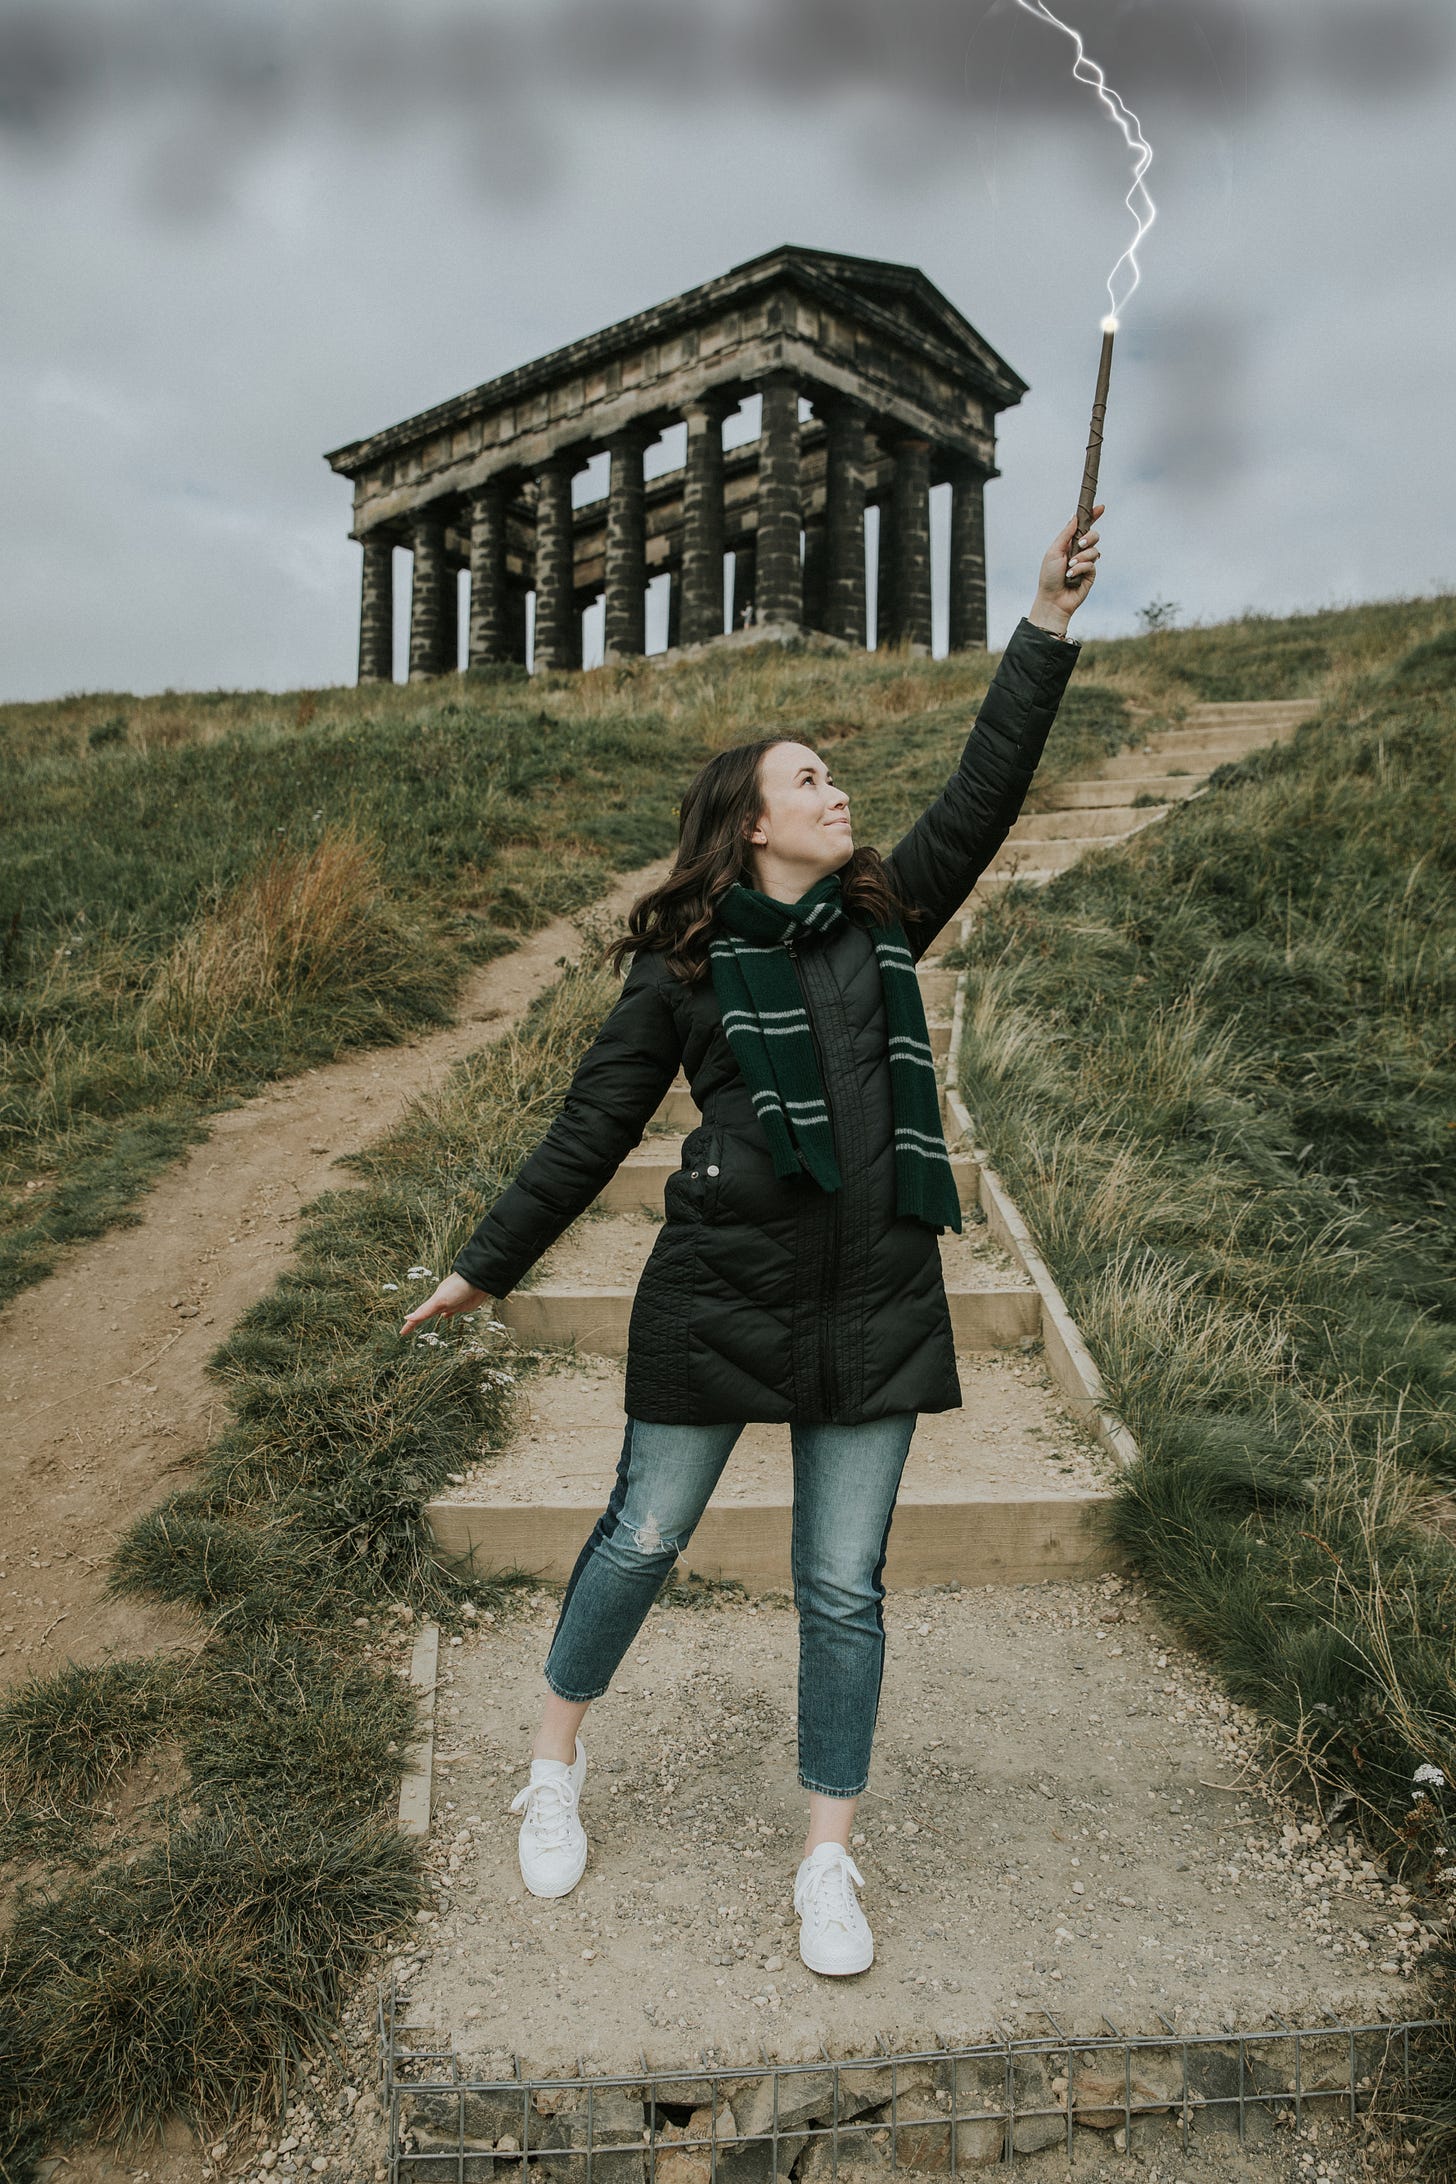
I remember the first time I truly felt proud of the art I had created. It was after taking a self-portrait. I was in England at the time, living there off and on with my husband as we waited for his American green card. I fell in love with the concept of slow living and have been studying people like Sara Tasker from Me & Orla and Carolyn Stritch from The Slow Traveler. I was completely entranced with how they created a true piece of art from a simple photo, and I was drawn to the self-portraits they did. I felt like adding themselves to those photos gave a full story, so I set out to begin creating my own.
I played with cinemagraphs, different props, and unique backgrounds, and just tried to have fun with it. I was always the kid who wanted perfection. My mom has this story of us making a cake together and then me being so upset when it was finished because it didn’t look exactly like it did on the magazine cover. But, when I created these self-portraits, I embraced imperfection. I loved how I didn’t have to explain to someone else what I wanted them to do, but I could just place myself how I wanted to be. It was freeing, and after a few years of food photography and falling out of love with the craft, this brought me back with a whole new invigorated energy. I was hooked.
I love the idea of documenting our lives as they are right now because there will never be another moment exactly like this one. I’ve always journaled and tried to self-reflect on every experience, but something feels “next level” about visually documenting yourself in that specific moment in time. It adds an extra touch to an experience that you may not have had before, and when I look back at photos of myself from these times, I am transported to how I felt, what was going on in my life, and the world around me, more so than any other expression. That’s the joy that I hope self-portraits can give you, too. A moment in time, documented, that you can have forever.
So, without further ado, here is how I create self-portraits.
start with an idea & story first
This is the whole concept of which comes first, the chicken or the egg. When I’m wanting to create a self-portrait, most of the time I’ll have an idea already in my head of what I want it to be. But sometimes, I’ll know I want a self-portrait and set out on a walk or to a story to figure out what the next idea might be.
I never just jump in visually, I’m always thinking story first. What is it that I’m wanting to tell through the image? How am I wanting the viewer to feel? I truly believe that photography is just another storytelling medium, so I lead with the journey I want someone to go on as they experience the image. Or, even more often, the journey I want to go on is the focus of the image.
It always helps me to think of the Hero’s Journey, which is essentially a template or set of steps popularized by Joseph Campbell that every story has woven into it. In short and in this case, you are the protagonist and you go through this circular experience that has trials and tribulations but ultimately leads you to be the hero of your story.
How can you convey that journey through the lens?
What pieces will you include?
What props can you hold?
What does your expression say?
How do your movements tell that story?
Whenever I am stuck in the creative process, I always go back to the basis of the Hero’s Journey, see where I’m at, and make decisions forward from there.
research & seek inspiration
I love to research and I really don’t believe in an original idea. I think all great creatives take inspiration from others and make it their own. So, I’ll go on Instagram or Pinterest for a while and type in keywords related to the image I’m trying to create and see what comes up. I’m typically looking for; editing styles I like, outfits that I could recreate, lighting scenarios, different poses, and things like that.
I never want to copy or make an identical image, I just want to look at pieces of many different images/art and use them as inspiration.
gather props & fashion
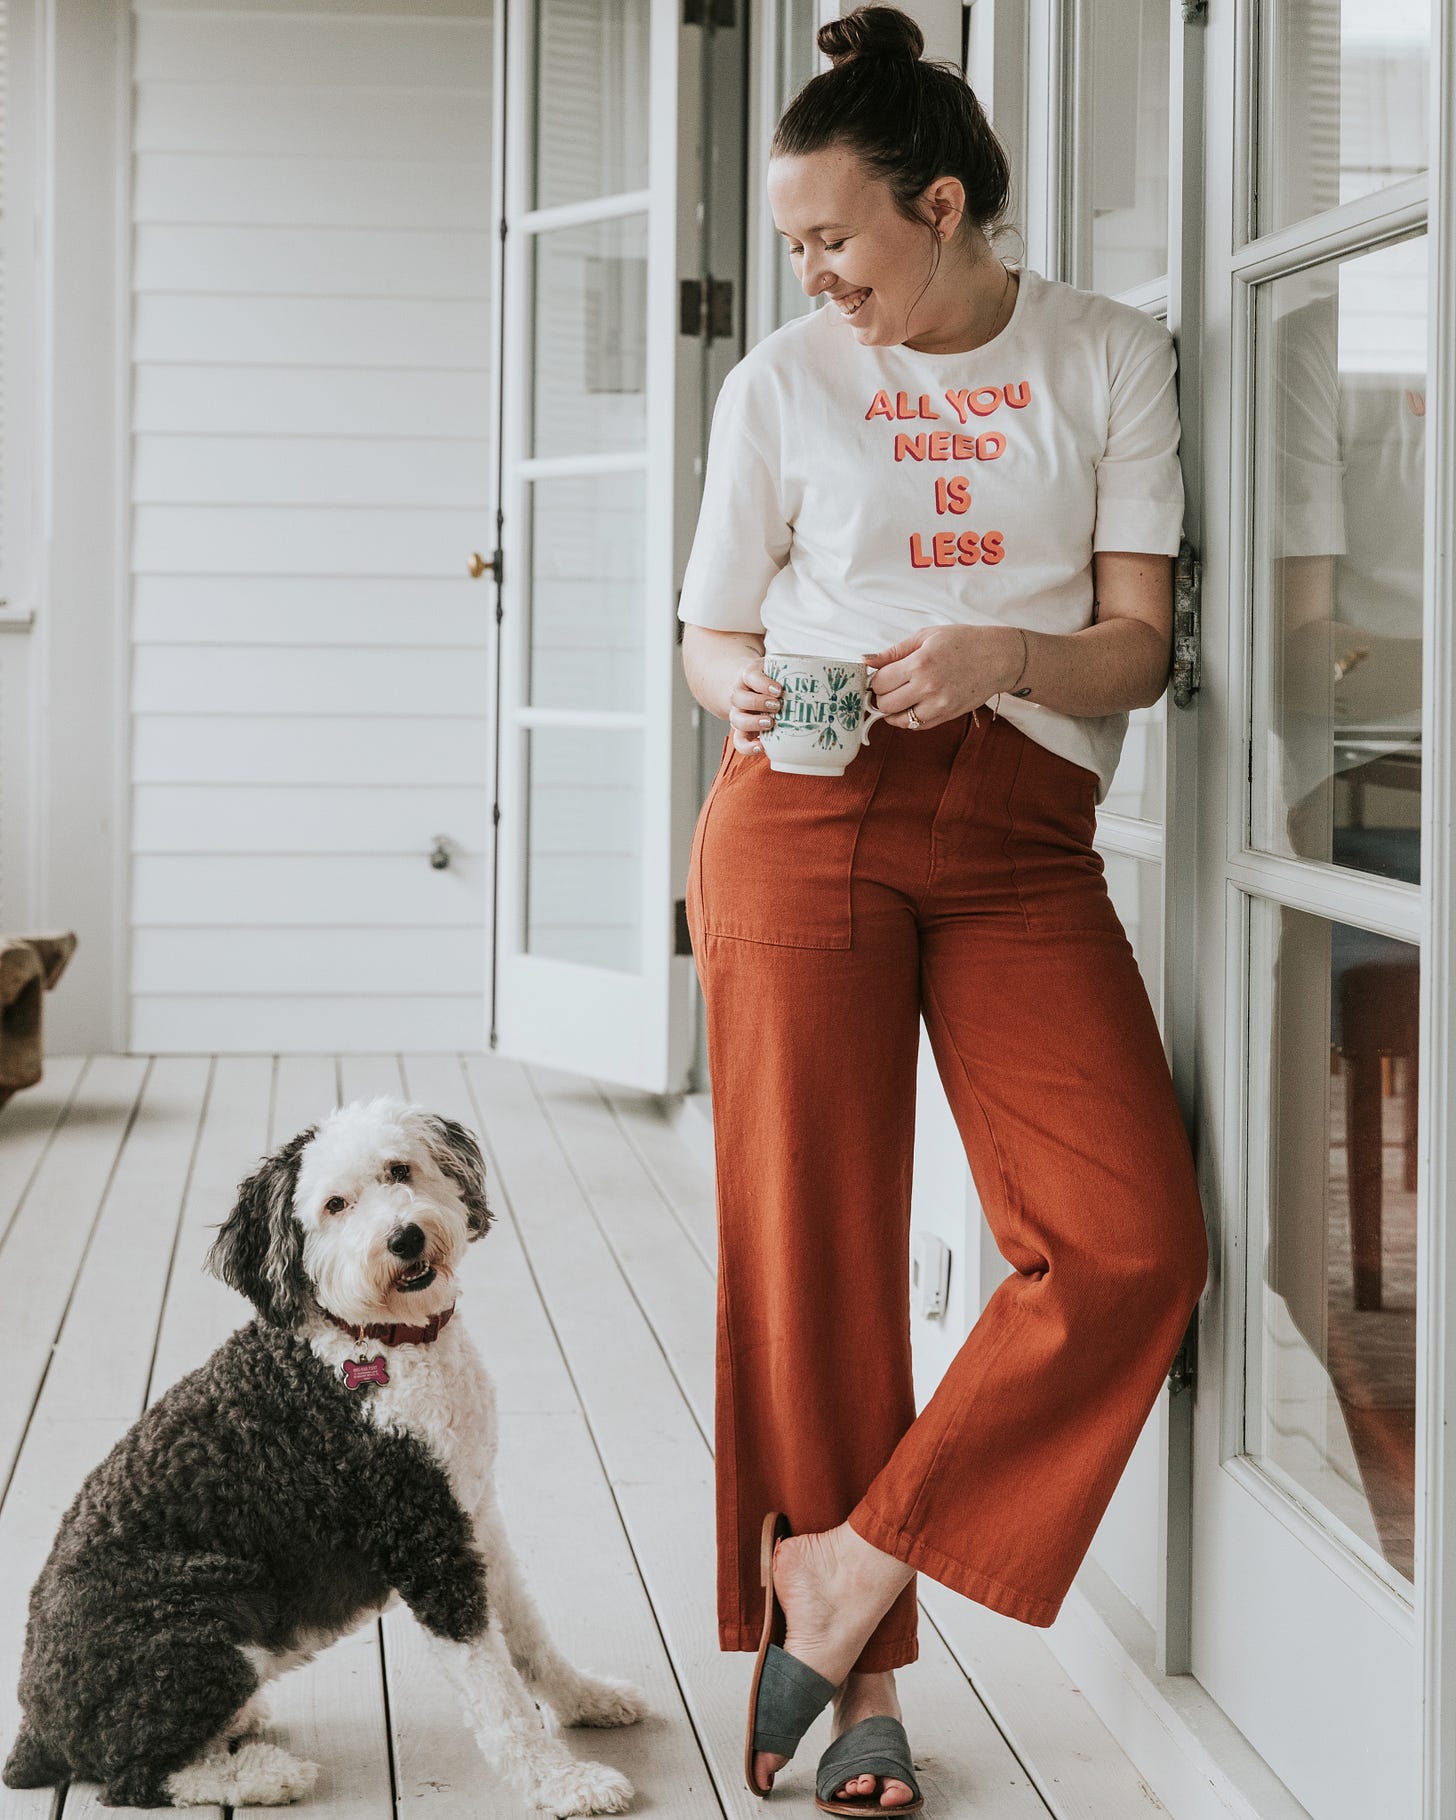
This is one of my favorite parts! Next, I’ll gather props and pick out the outfit I want to wear. To do this, I’ll walk around the house first and see what I can find that will add to the scene. My first picks are always candles and mugs. I’ll then go through my closet and see if any outfit or pieces of an outfit would work.
If I don’t have what I’m looking for, I’ll go to the thrift store to find things like old books and china. I’ll go to the farmer’s market for flowers. I’ll even go to the craft store and make things myself if that’s needed for the vision I have for the image.
plan for the right time of day
The time of day is super important when it comes to photography. I always recommend using natural light if possible because it creates the best photos unless you’re in a studio with very professional lighting equipment and know how to use it.
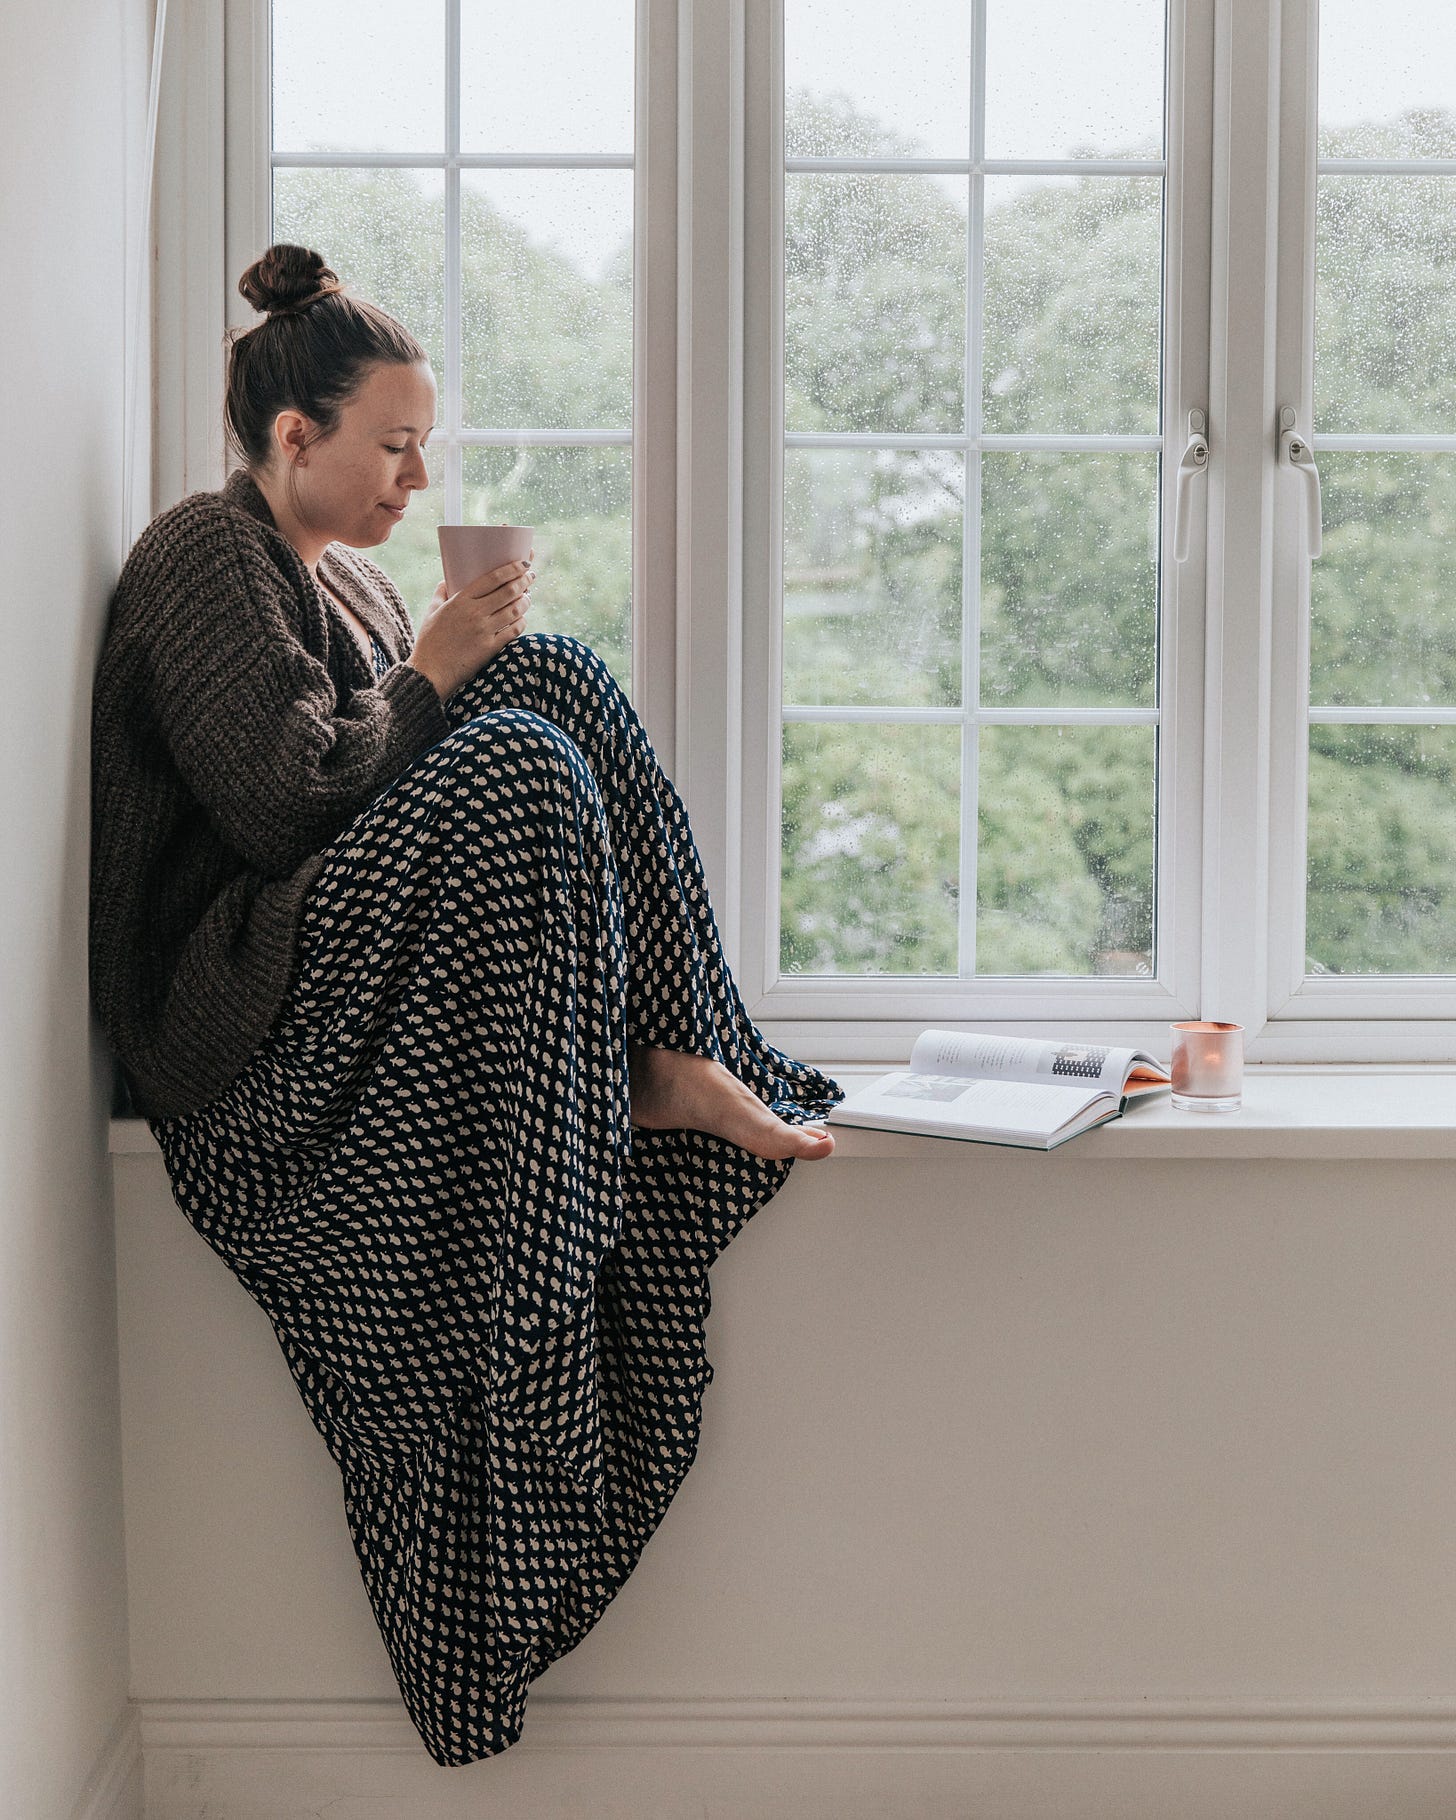
Sunrise and sunset are notoriously the best times for pictures outside. You’ll get a more diffused light and it’ll have a magical effect to it. You want to avoid direct sunlight, especially if you’re just starting because it’s much harder to not blow out the image. I always look for a shaded spot where the sun is dipped behind a tree or building. I also love cloudy days because they act as a natural light diffuser.
If you’re taking a picture inside, it really depends on the direction your windows are. I actually like taking photos inside in the middle of the day because the sun is above the house and not coming into any windows directly. But I recommend you spend a couple of days watching the way the sun goes through each window and record the times that the spot you’re wanting to use is shadowed but still has strong light.
When picking a spot, you ideally want the light to be facing you. So, a blank wall would be perfect for you to be in front of and then have a window on the other side of where the camera would be. I also love side lighting for more dimension in the image, especially if you’re wanting something moodier. But you typically won’t want to backlight unless your vision involves a silhouette image or a light flare. In that case, I usually like to have the sun just over one of my shoulders and out of the actual lens, and I’ll add a sun flare in editing to brighten it up.
be open to different perspectives once “on set”
I could have my vision perfectly laid out with storyboards and sketches, but it’ll almost always be changed once I set up my camera and start taking test shots. The tripod won’t fit where I want it to go, the lighting time I picked is all wrong, or the prop I’m using doesn’t look right with the outfit I’m wearing.
Be open to looking at the story you’re creating as a moving piece, and adjust yourself to make it work. I promise you that when you see your image through the viewfinder of your camera or behind your phone, it will take on a completely different look and feel than with your eyes only.
If you’re really set on a spot, then I recommend doing some test shots before you get everything set up to make sure it’ll fit within your vision. Otherwise, go with the flow. Try a few shots here, then move the camera to a different spot and try something there. I view the actual shooting process as a moving image. You’re adjusting based on what the story is telling you, and all you have to do is be present and listen.
To take the actual images, I use a Canon 5D Mark IV with either a 24-70mm lens or 50mm lens. I have the MeFoto Roadtrip Tripod (in pink of course). And then my camera has wifi built into it, so I just hook it directly up to my phone and use that so I can see the shot and take it remotely. This is a great little remote that you can easily hide in your hand.
move from a technical approach to feeling
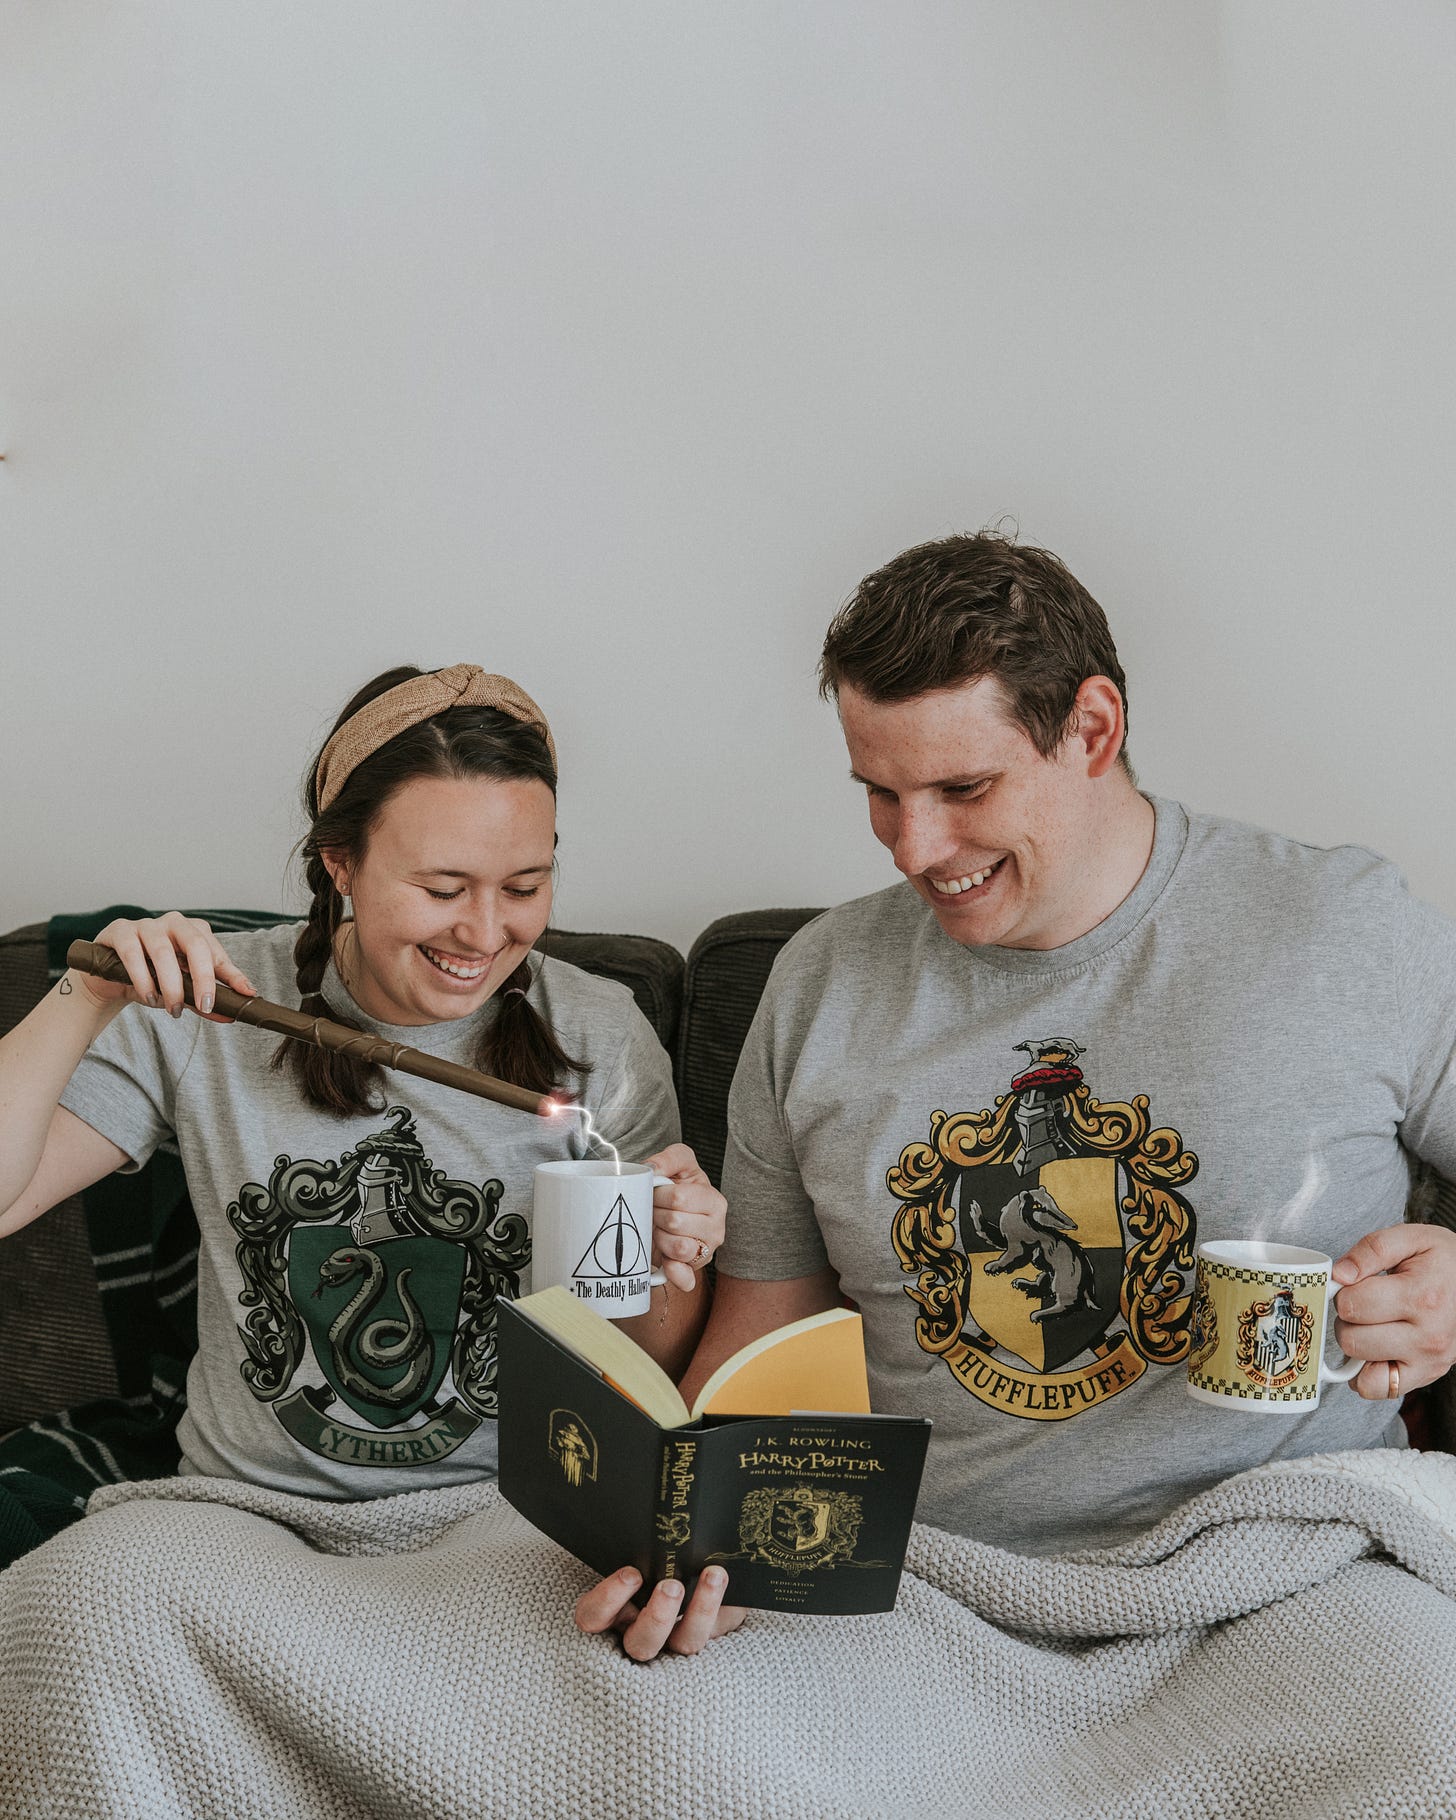
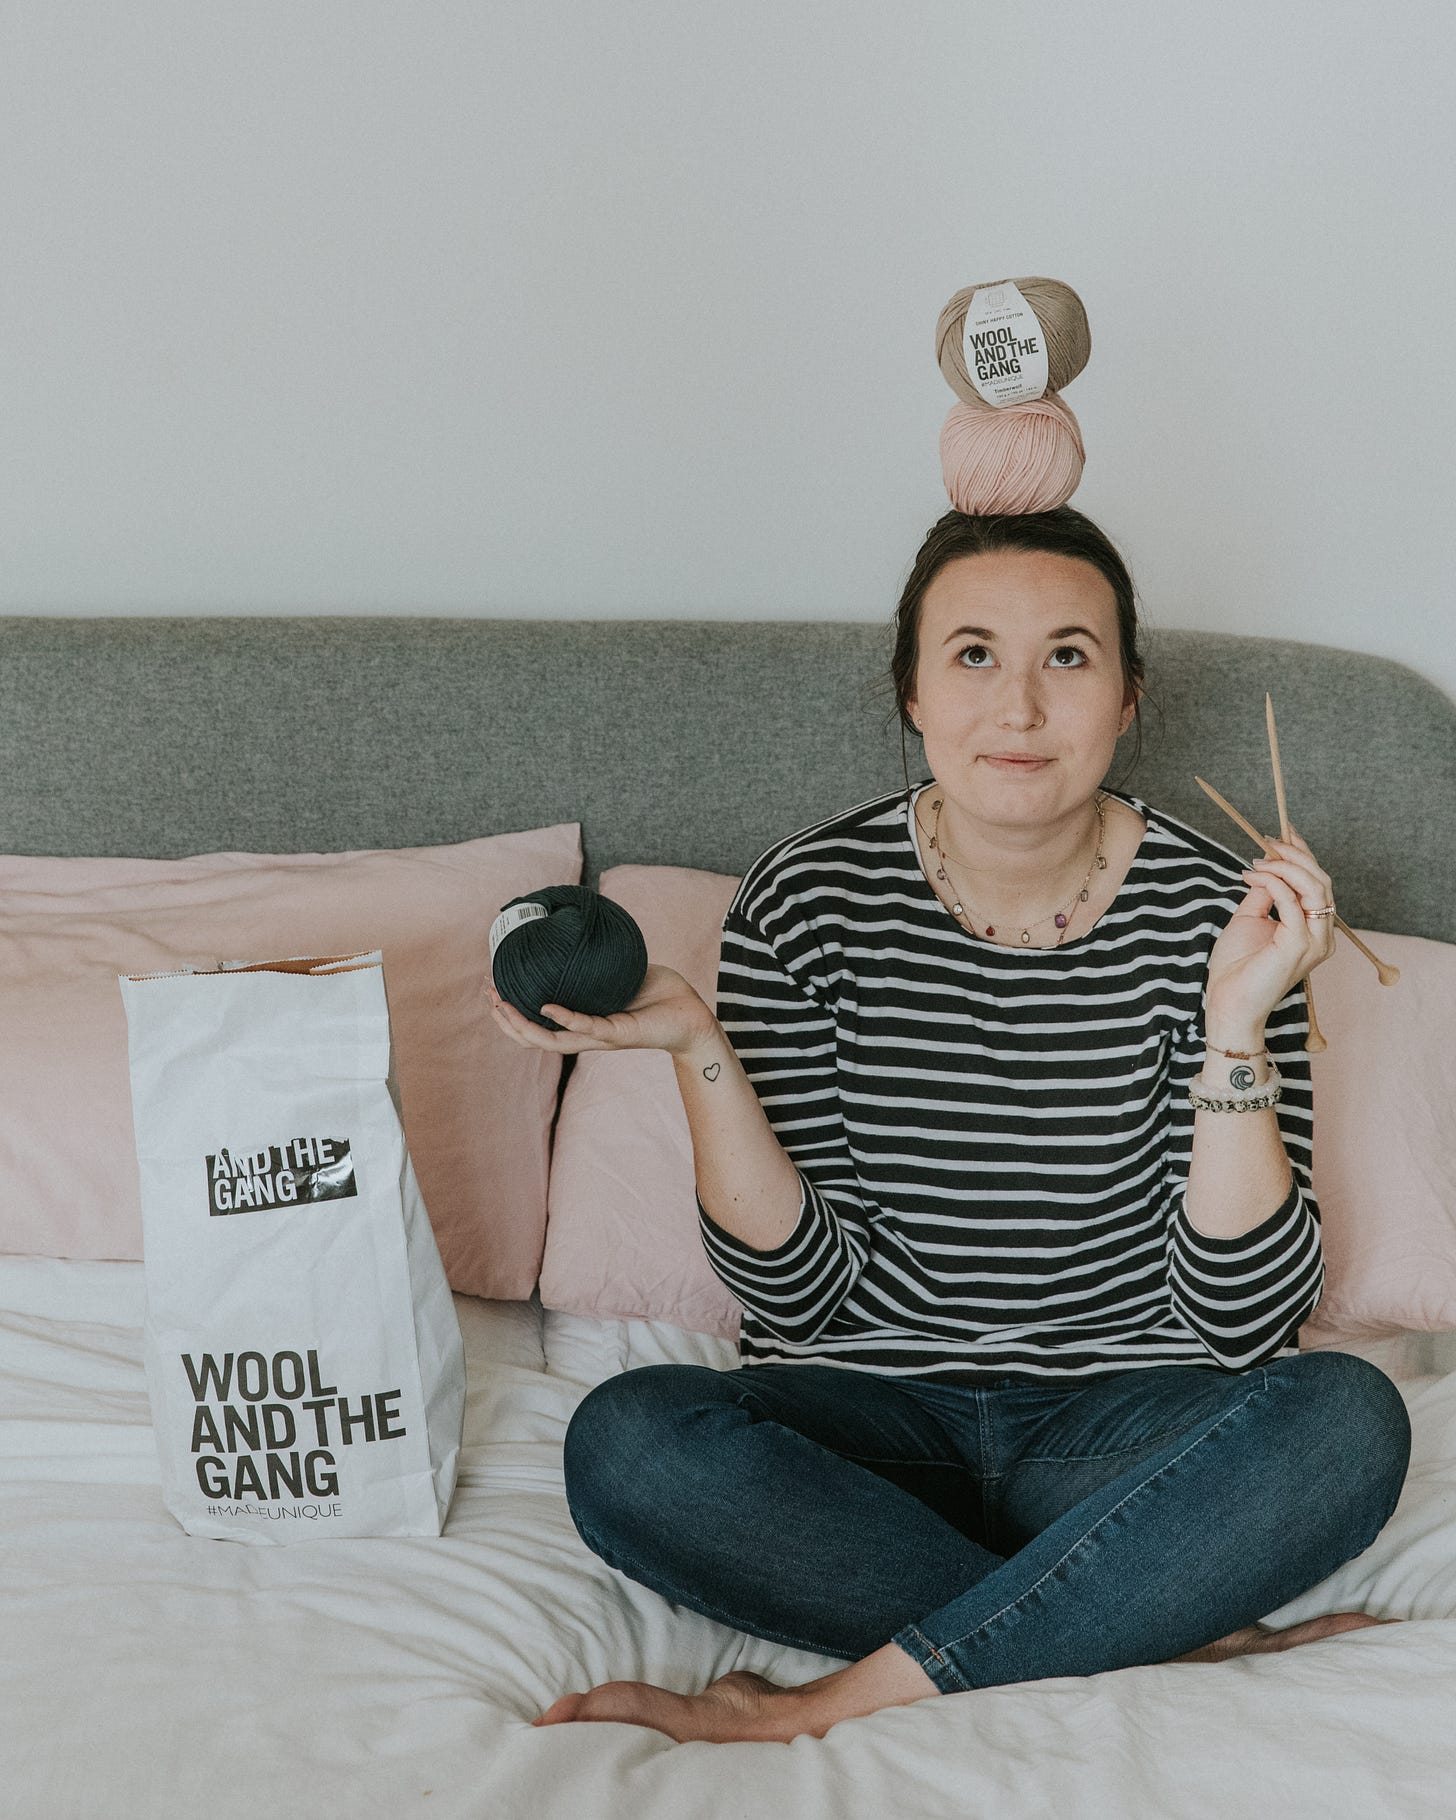
Once you have the image set up the way you want and you’ve positioned yourself, let go of the technical part of things and move into the feeling element. Think back to the inspiration you felt when imagining this image and start to let your body movements and facial expressions do the work. I love movement in images, so don’t be afraid to twirl around, take a sip of tea, flip your hair back and forth, or do anything to add depth to the story you’re trying to tell.
Try lots of different things and use this time to experiment. I’d rather have a lot of images to cull in editing than not enough. I always try to get some of me smiling with my teeth, smiling without showing my teeth, looking away from the camera, having my back turned and looking back towards the camera, walking closer to the camera, and then further away. I always start with the exact vision I had and then once I feel like I’ve gotten enough of those, I begin to play.
I usually know I’m done when I feel like I’ve gotten all the poses I wanted to try and there’s a voice in my head saying, “that’s enough.” As you continue your own creative practice of self-portraits, you’ll begin to hear that voice too.
The magic is in the editing
My horrible habit is that if I’m struggling with a certain element during the shooting process, I’ll just say, “I’ll deal with that in editing.”
It always bites me in the butt because I end up having way more work, so I definitely recommend trying to limit editing as much as possible by getting what you need at the moment, but there is a magic that only editing can provide.
Sometimes I only use the whole image I’ve taken and sometimes I’ll take pictures of different elements close up and photoshop them in, move things around, and make it have more layers. I love to add things like flames in candles or steam in a cup of tea while editing, and it’s a fun extra creative element that can really uplevel your photos.
If this kind of content is interesting to you, let me know and I’d be happy to make a video showing my actual editing process.
I hope this was helpful and might inspire you to begin your own journey in self-portraits. I always think it’s a beautiful legacy of ourselves to leave behind for our family and future family to see. There’s also an element of complete control that I just love when it comes to creating art through self-portraits.




Ohhh I love this idea so much! Also, LOVE all the pictures as well. Something that stood out that you wrote is you are capturing this moment in time, where you are as you are. I will often do this but in a form of a selfie but taking the time to document yourself in the moment as you would be in it - is very beautiful!